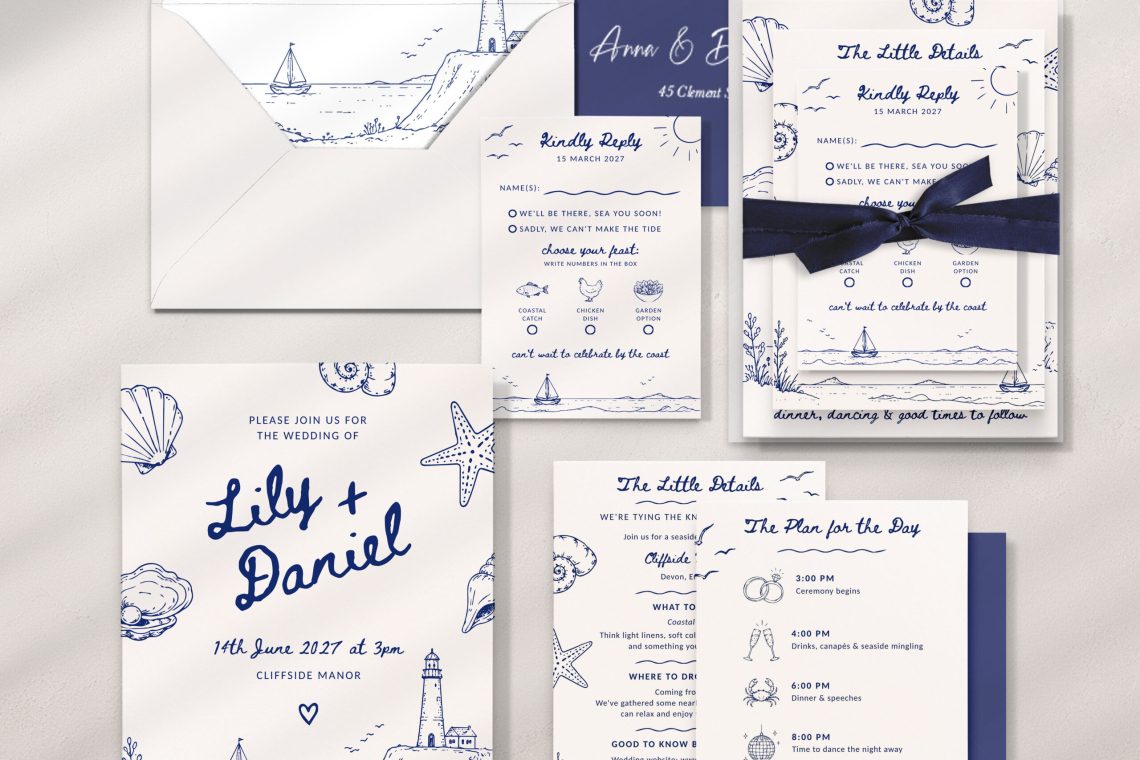
Canva makes it easy to personalise your wedding invitations, but once you’ve finished editing your design, you might be wondering how to get it printed properly.
Should you download a PDF or a JPEG? What paper should you choose? And is it better to print at home or use a professional printing service?
In this guide, we’ll explain how to print wedding invitations from Canva, including the best download settings, paper choices and practical tips for achieving a professional finish.
1. Start with a Wedding Invitation Template
Before thinking about printing, it’s worth choosing a template that’s been designed for the size and format you intend to use.
Common wedding invitation sizes in the UK include:
- A5 (148 × 210 mm) – a popular option with plenty of room for your wording.
- 5 × 7 inches (127 × 178 mm) – a classic invitation size with a slightly different proportion to A5.
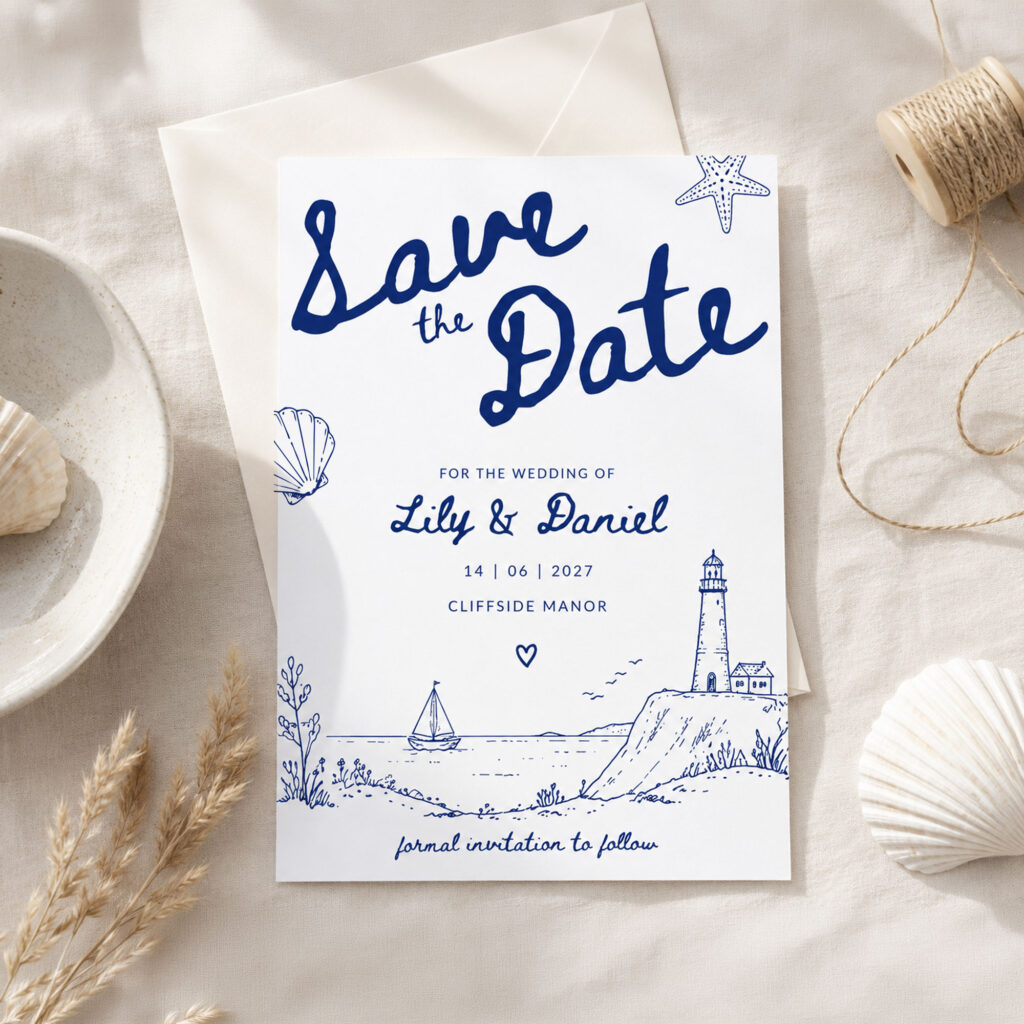
- A6 (105 × 148 mm) – a smaller format that works particularly well for save the dates and additional stationery cards.
It’s important to choose the correct size before you begin editing. Resizing a finished design can affect the spacing, font sizes and overall layout.
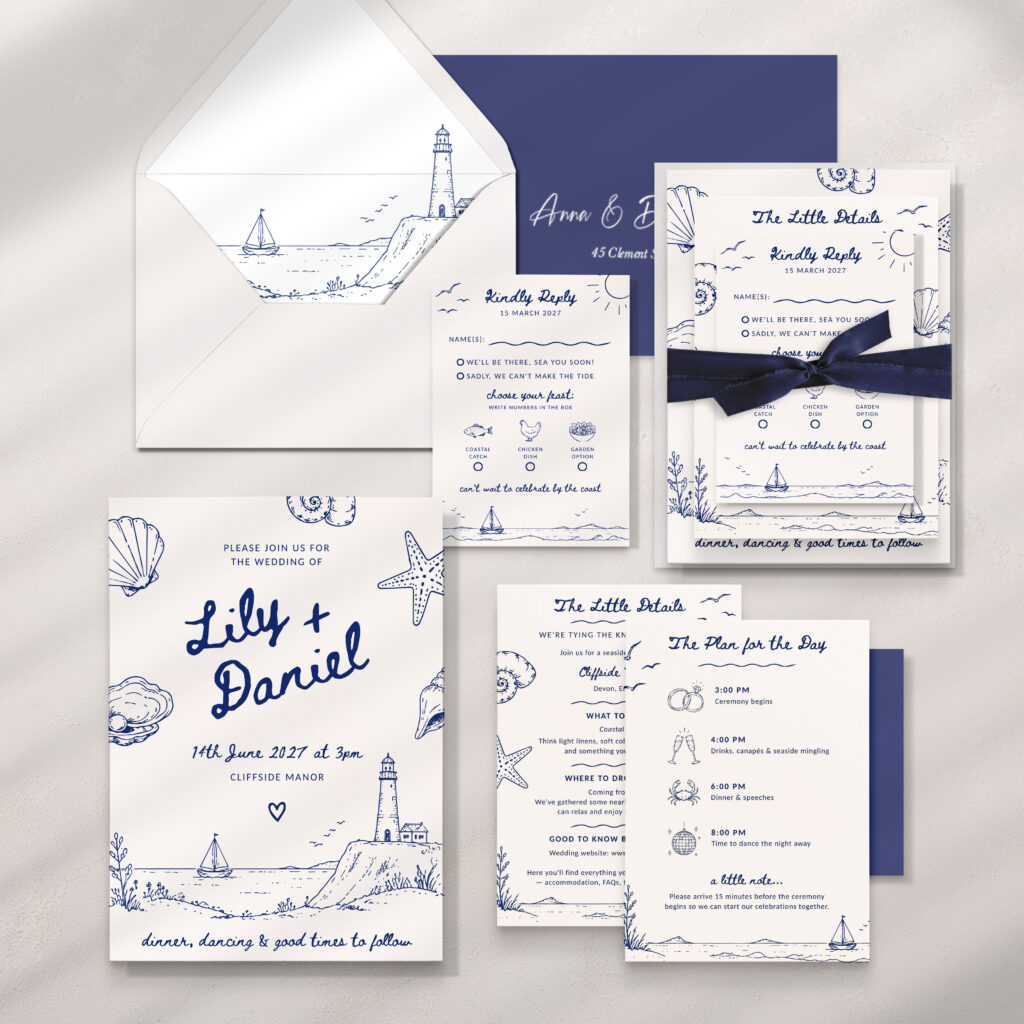
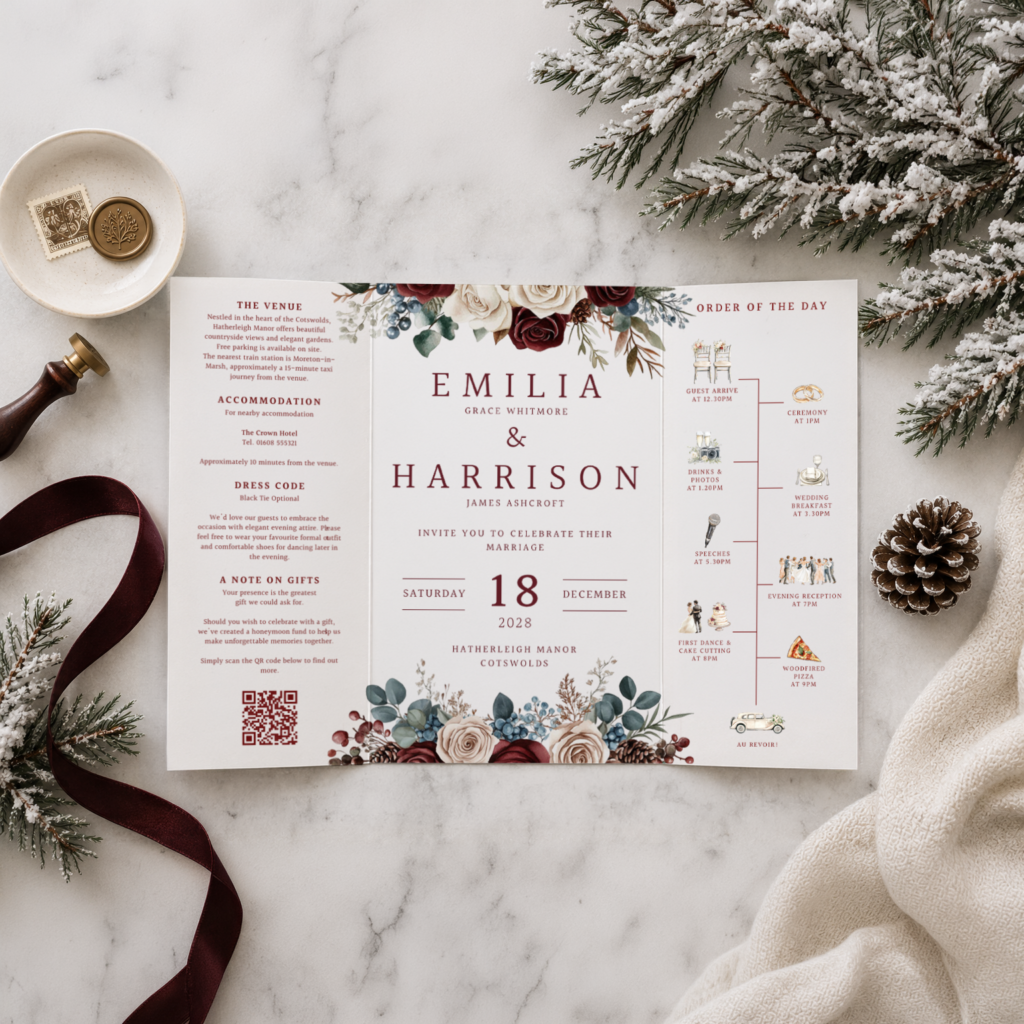
At TIIMA Wedding Design Studio, our stationery templates are created with the finished printed product in mind. Typography, spacing, proportions and layouts are arranged for the intended print sizes, so you can concentrate on personalising the details rather than building your invitation from scratch.
2. Personalise Your Wedding Invitations in Canva
Once you’ve opened your template in Canva, you can update the wording with your own wedding information.
Before downloading your design, double-check:
- Both names and their spelling.
- Your wedding date and ceremony time.
- The venue name and address.
- RSVP details and response deadline.
- Any additional information your guests need.
Pay particular attention to longer venue names and additional wording. Adding too much text can change the appearance of a carefully arranged design.
If you’re using a professionally designed template, try to retain the original font sizes and spacing wherever possible. These have often been selected to achieve the right balance between readability and appearance when printed.
Prefer a Professional to Personalise Your Invitations?
If you’d rather leave the editing to a designer, TIIMA also offers a professional personalisation service.
It’s an ideal option if you love the convenience of digital wedding stationery but would prefer a professionally finished design without having to edit the template yourself.
3. Download Your Canva Wedding Invitations for Printing
Once your invitation is ready, the next step is downloading it in the correct format.
For most professional printing services, PDF Print is the best starting point.
How to Download a Print-Ready PDF in Canva
- Open your finished wedding invitation in Canva.
- Click Share in the top-right corner.
- Select Download.
- Under File type, choose PDF Print.
- Enable Crop marks and bleed if your printer requires them and your design has been prepared with bleed.
- Select CMYK if your Canva plan offers it and your printer recommends it. Otherwise, follow your printer’s colour requirements.
- Click Download to save your file.
PDF Print is generally preferable to JPEG or PNG because it’s intended for high-quality printing and helps preserve text and design details.
However, always check your chosen printing company’s artwork specifications before submitting your files. Some printers require particular bleed settings, colour profiles or file formats.
4. Understanding Bleed and Crop Marks
If your invitation has a coloured background, photograph or illustration extending to the edge, your printer may require bleed.
Bleed is extra artwork that extends beyond the final trimmed edge. It helps prevent unwanted white borders if the paper moves slightly during cutting.
In the UK, many professional printers request approximately 3 mm of bleed on each side, although requirements vary.
Crop marks indicate where the finished invitation should be trimmed.
For example, an A5 invitation measures 148 × 210 mm after trimming. With 3 mm bleed on each side, the artwork extends to 154 × 216 mm before accounting for any crop marks.
Not every invitation requires visible artwork to extend into the bleed area. A simple design with a white background may have different requirements from a full-colour invitation.
If you’re unsure, ask your printer which settings they recommend before downloading your final file.
5. Choose the Right Paper for Your Wedding Invitations
Paper can make a significant difference to how your finished invitations look and feel.
Even a beautifully designed invitation can look quite different depending on the paper’s colour, texture and thickness.
What Paper Weight Is Best?
For wedding invitations, 300–350 gsm cardstock is a popular choice for a substantial, professional finish.
Lighter cardstock around 250 gsm can also work well, particularly for additional stationery inserts or when printing at home.
Check that your printer can accommodate your chosen paper thickness before ordering.
Popular Paper Finishes
- Smooth uncoated cardstock: a versatile option for modern, minimalist and typography-led designs.
- Textured cardstock: adds a subtle tactile finish, particularly suited to classic and romantic stationery.
- Matte coated cardstock: offers a smooth finish that can work well with photographs and detailed artwork.
- Recycled cardstock: available in a variety of shades and textures, although colour reproduction can differ from bright white paper.
For black and white invitations, the shade of the paper is especially important. Bright white, natural white and ivory cardstock can each create a noticeably different result.
We recommend ordering a paper sample or printed proof before committing to a larger quantity.
6. Should You Print Wedding Invitations at Home or Professionally?
Both options can work, depending on your budget, the quantity required and the finish you’re hoping to achieve.
Printing Wedding Invitations at Home
Home printing gives you flexibility and allows you to print smaller quantities as needed.
However, you’ll need to consider your printer’s paper-handling capabilities, ink costs and the accuracy of your trimming.
Before printing your full order:
- Check the maximum cardstock weight supported by your printer.
- Use the correct paper type and quality settings.
- Print at actual size rather than scaling to fit the page.
- Test your design on one sheet first.
- Use a paper trimmer for neat, consistent edges.
Home printing is often more suitable for simple designs and smaller quantities.
Using a Professional Printing Service
A professional printer is worth considering if you want consistent colour, accurate trimming and a wider choice of specialist cardstock.
When requesting a quote, provide the finished invitation size, quantity, preferred paper weight and finish, and whether your design requires double-sided printing.
Ask whether the printer needs bleed, crop marks or a particular colour profile before submitting your artwork.
7. Always Print a Sample First
One of the most useful steps is also one of the easiest to overlook: checking a printed sample.
Colours can appear different on paper compared with a computer or phone screen. Paper texture and colour can also affect contrast and readability.
When checking your sample, look at:
- Whether all wording is clear and easy to read.
- Whether smaller text remains legible.
- Whether the colours match your expectations.
- Whether margins and spacing appear balanced.
- Whether the final trimmed size is correct.
This is particularly important if you’ve changed the original typography or added extra wording to your template.
8. Don’t Forget Your Matching Wedding Stationery
Your wedding invitation is often just one part of your stationery suite.
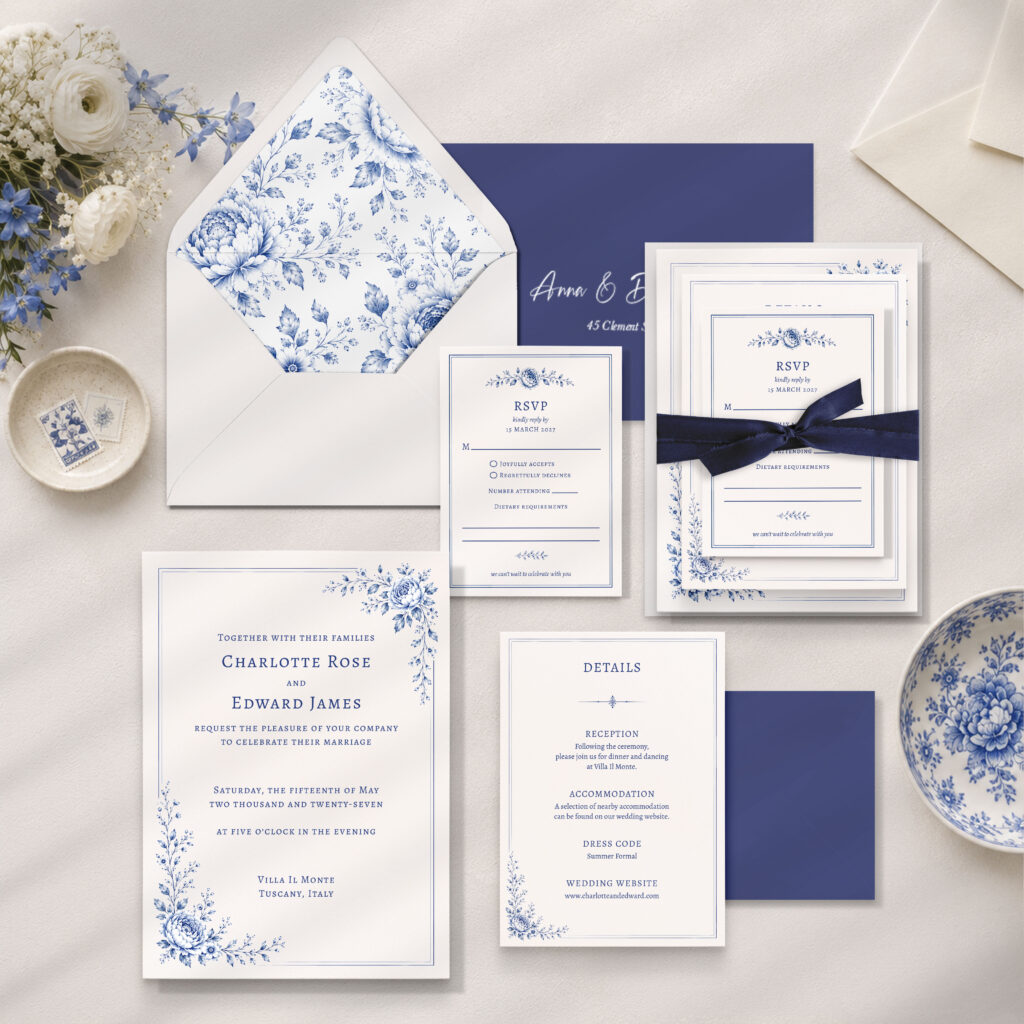
Depending on your celebration, you might also need RSVP cards, details cards, menus, place cards, table numbers or a seating plan.
Using coordinating designs helps create a consistent look across your wedding stationery, from the first invitation through to the wedding day itself.
When printing several pieces, try to use the same paper stock or a complementary selection of finishes to keep everything cohesive.
Wedding Invitation Templates Designed with Printing in Mind
At TIIMA Wedding Design Studio, our editable Canva wedding stationery templates are designed with the finished printed invitation in mind.
Each collection features professionally arranged typography, balanced layouts and carefully selected font sizes for its intended print dimensions.
Every order also includes a printing guide with practical instructions to help you prepare your files and choose suitable printing options.
You can personalise your chosen design yourself in Canva or select our professional personalisation service and have us prepare the finished design for you.
Explore our wedding stationery collections to discover coordinating invitation templates, save the dates and reception stationery.
Frequently Asked Questions
What is the best file format for printing wedding invitations from Canva?
PDF Print is generally the best option for professional printing. It is designed for high-quality output and can include crop marks and bleed where required. Always follow your printer’s specific file requirements.
Can I print Canva wedding invitations at home?
Yes. You can print Canva wedding invitations at home, provided your printer supports the paper type and thickness you want to use. We recommend printing a sample before producing the full quantity.
What paper should I use for wedding invitations?
Cardstock around 300–350 gsm is a popular choice for wedding invitations. Smooth uncoated, textured and matte coated papers can all work well, depending on your design and preferred finish.
Do I need bleed when printing wedding invitations?
If your design extends to the edge of the invitation, your printer will usually require bleed. Many UK printers request 3 mm, but you should always check their artwork specifications.
Are TIIMA wedding invitation templates suitable for professional printing?
Yes. TIIMA stationery templates are designed with printing in mind, including typography, spacing and layouts arranged for their intended sizes. Every order includes a printing guide, and professional personalisation is available if you’d prefer us to handle the editing.
Can I change the wording on a Canva wedding invitation template?
Yes. Editable Canva templates allow you to personalise your names, date, venue and other wedding details. For the best printed result, we recommend keeping the original font sizes and layout proportions wherever possible.
Should I print a sample before ordering all my invitations?
Yes. A printed proof allows you to check the paper, colours, text size and overall finish before committing to a larger print run.